Make your DREAM craft studio!!!!
1. Leave extra space on your sewing table. For laying out patterns and cutting fabric.
2. Display your homemade clothes on a mannequin. I made this casual winter dress below. One of my friends arm knitted the scarf (thanks mom ❤️).
3. Make a magical book nook with twinkle lights, fake flowers, and magical tchotchkes!
4. Put some parchment paper in a jar. You can make patterns for clothes out of parchment paper. Display your sewing supplies on a turntable.
5. Fill a craft cart with labeled jars.
6. Pin up loose papers on a bulletin board.
7. I keep all of my theater pamphlets in a shoebox. Such memories! I found a Matilda ticket from when I was nine in here!
8. Find the perfect balance of storage and space on your craft tables.
9. Here’s my book nook again!
10. I set a special reading area up next to my book nook, covered with homemade pillows. Check out that seam! (I’m very proud of that seam. I hope you appreciate it.)
12. Cover your storage solutions with sparkly stickers.
13. Wipe down surfaces with a damp paper towel. Then dry it out, and place things back in an organized way.
14. Put paintbrushes in a jar.
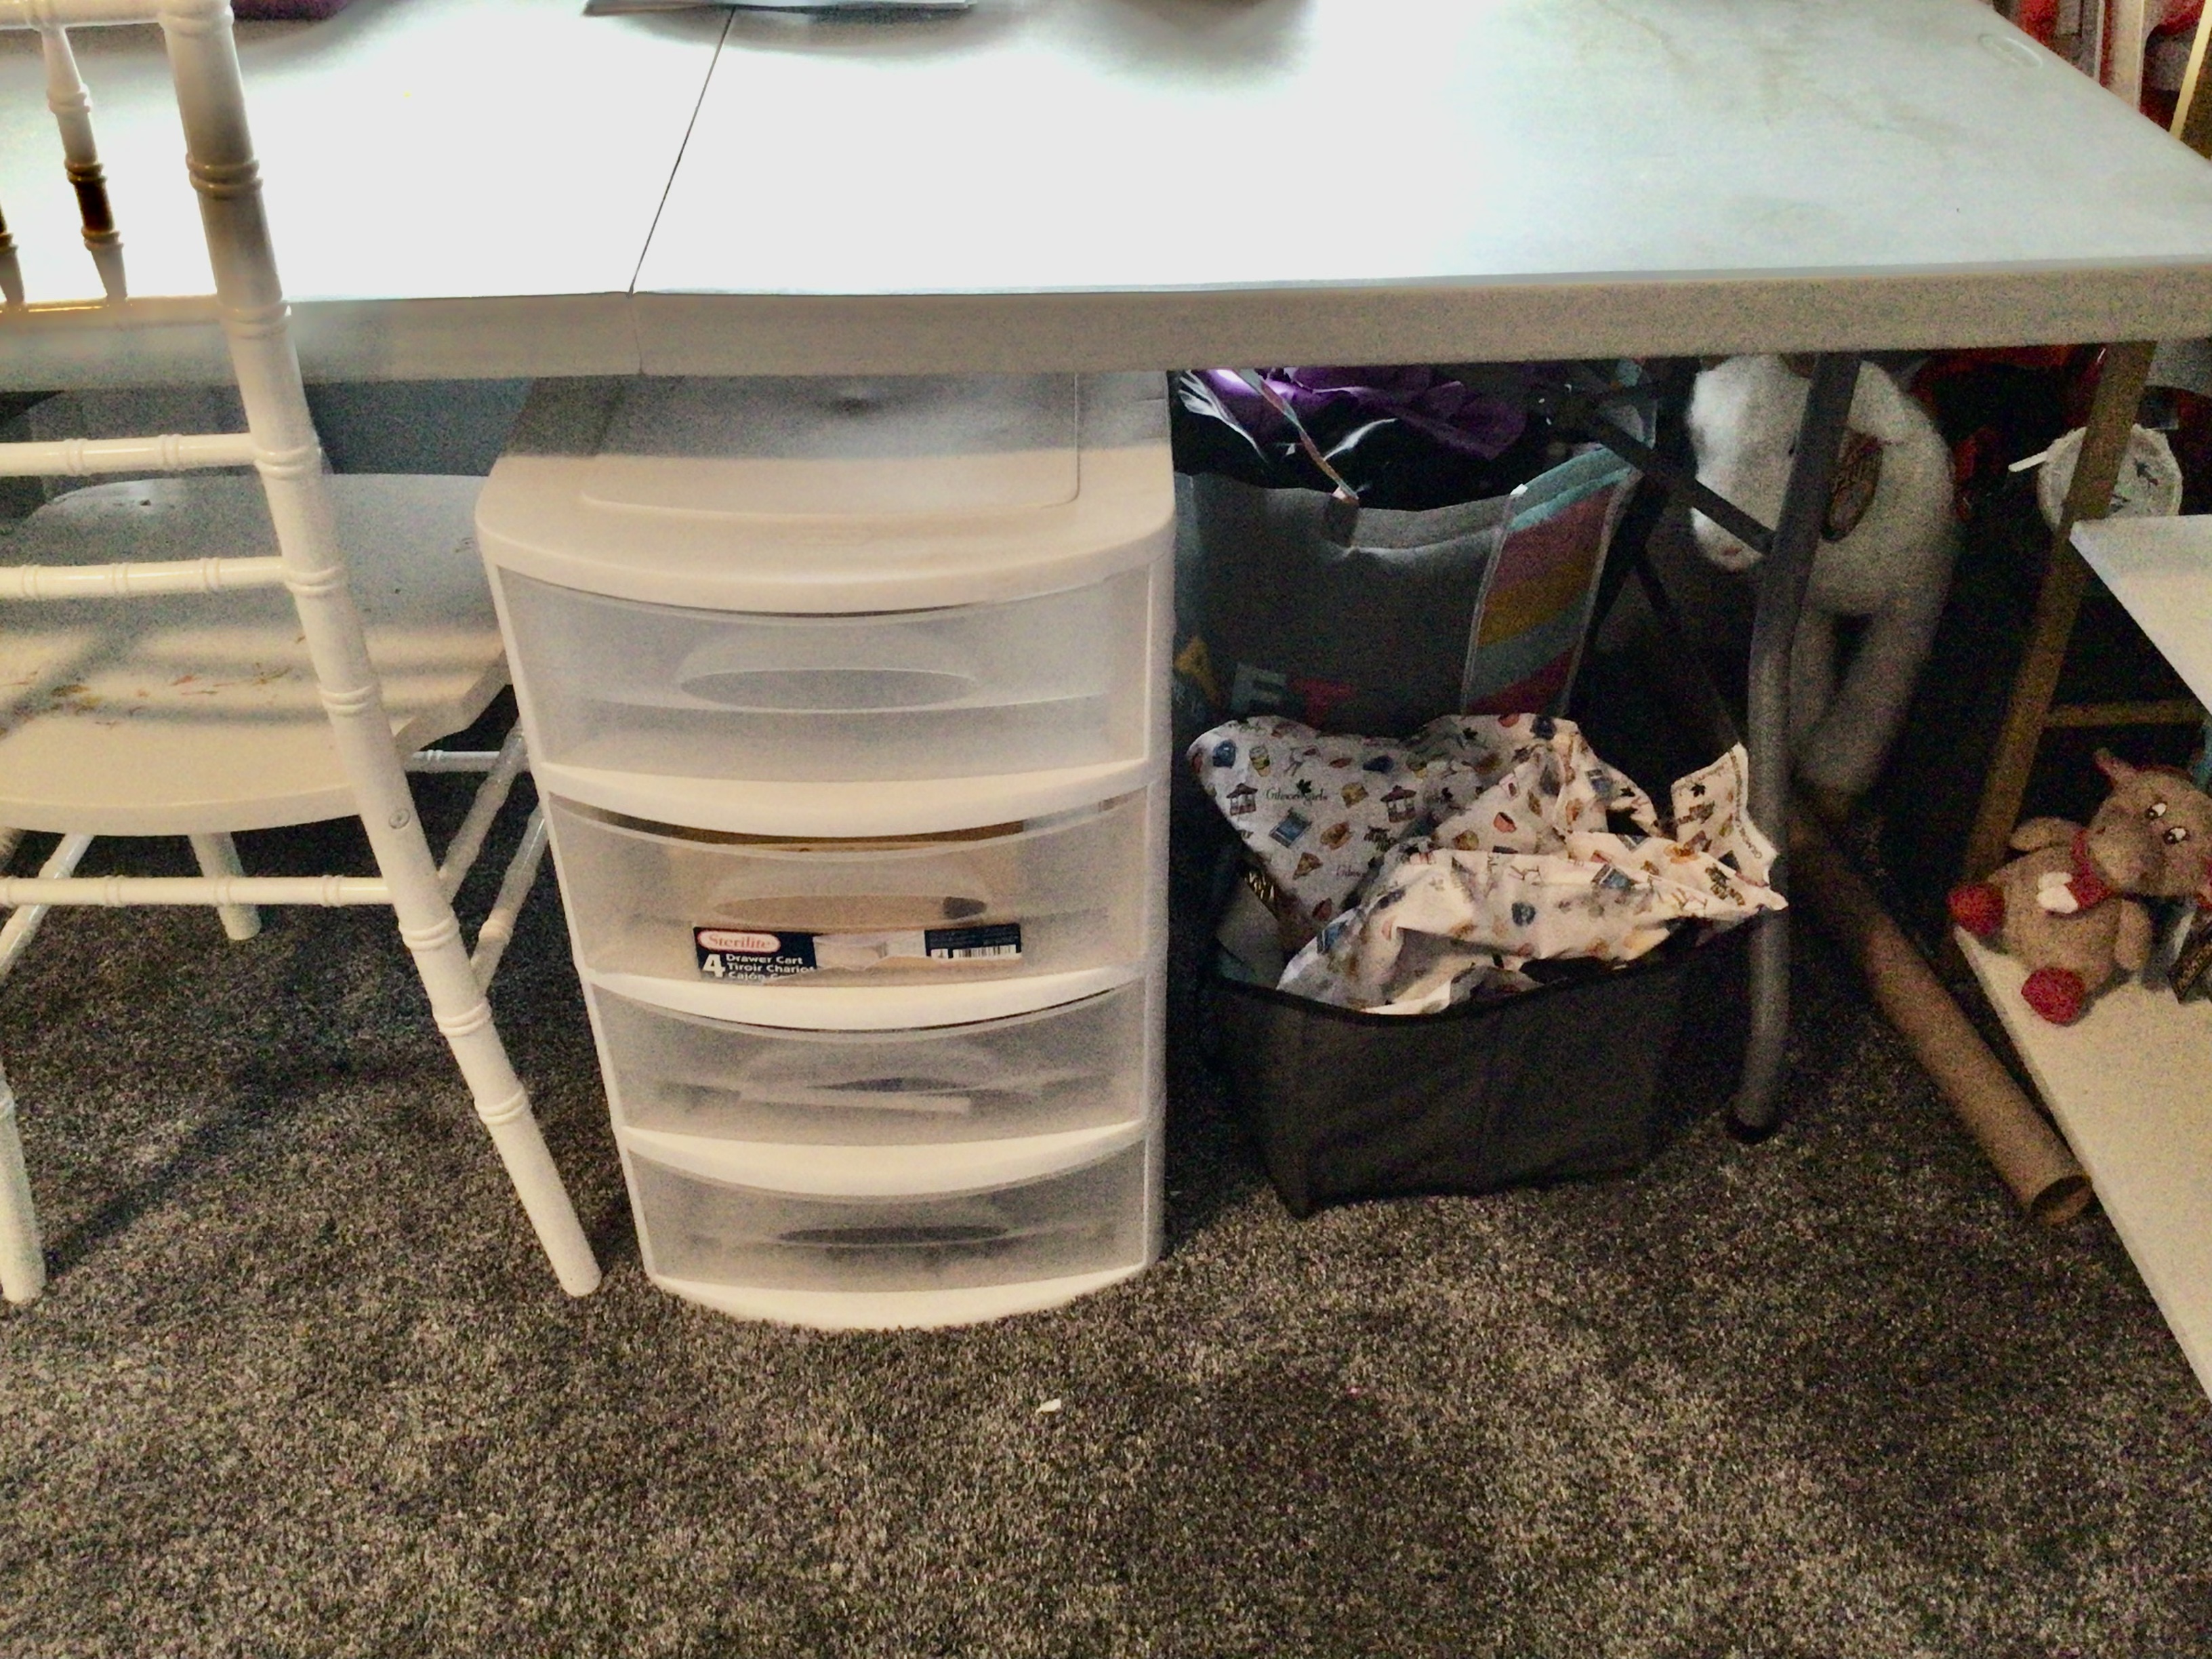
15. Utilize under-table storage. This is a storage drawer set, and two bins of fabric and supplies.
16. Set up a craft tray. This tray is sealed with a layer of epoxy resin, which is wipeable.
Hope you enjoyed! Love you all!


Love these pics!!!!
ReplyDeleteWhat a wonderful pillow!
ReplyDelete